
Interior car detailing – step by step

Car interior detailing is far more than just vacuuming. It’s a comprehensive care process that enhances comfort, hygiene, and the vehicle’s value. In this guide, we’ll walk you thoroughly, step by step, through the entire process – from preliminary tidying of the passenger area to the final protection of interior surfaces. If you’ve read our guide on exterior detailing [link], you already know how to care for the paint. However, washing the car is only half the battle. A neglected interior quickly reduces both comfort and perceived vehicle value.
If you’ve read our guide on exterior detailing, you already know how to care for the paint. However, washing the car is only half the battle. A neglected interior quickly reduces both comfort and perceived vehicle value.
Want to take control of your car’s interior cleanliness and appearance?
Discover 11 steps to get there!
Step 1: Clean the car interior thoroughly
Proper car interior detailing begins with a thorough cleaning of the passenger area. This means removing all loose trash, dirt, and debris that could hinder subsequent care steps. Key actions at this stage include:
-
Removing trash and waste from the floor, glove compartments, door pockets, and centre console.
-
Wiping dust off hard surfaces, such as the dashboard, door panels, and centre tunnels.
- Checking and cleaning hard-to-reach areas that often accumulate dust and dirt (e.g., gaps between seats, pedal areas, recesses in the console, and around locks and handles).
Only after a thorough cleaning can you move on to the next interior detailing stages, as skipping this step reduces the effectiveness of all subsequent treatments.
Step 2: Clean the floor mats
Floor mats collect the most dirt and moisture, making professional cleaning a crucial part of interior detailing. Regular cleaning prevents mould, fungi, and unpleasant odours, and also protects the car floor from damage.
How to clean floor mats?
-
Remove the mats and shake out sand, dust, and other loose debris.
-
Use a high-power vacuum to remove dirt embedded deep in the mat’s structure.
-
Depending on the material, apply the appropriate cleaning product:
1. Rubber mats – wash under pressure and use a rubber-specific cleaner to restore elasticity and prevent cracking.
2. Carpet mats – use foam or upholstery shampoo, then rinse thoroughly and dry to avoid moisture build-up.
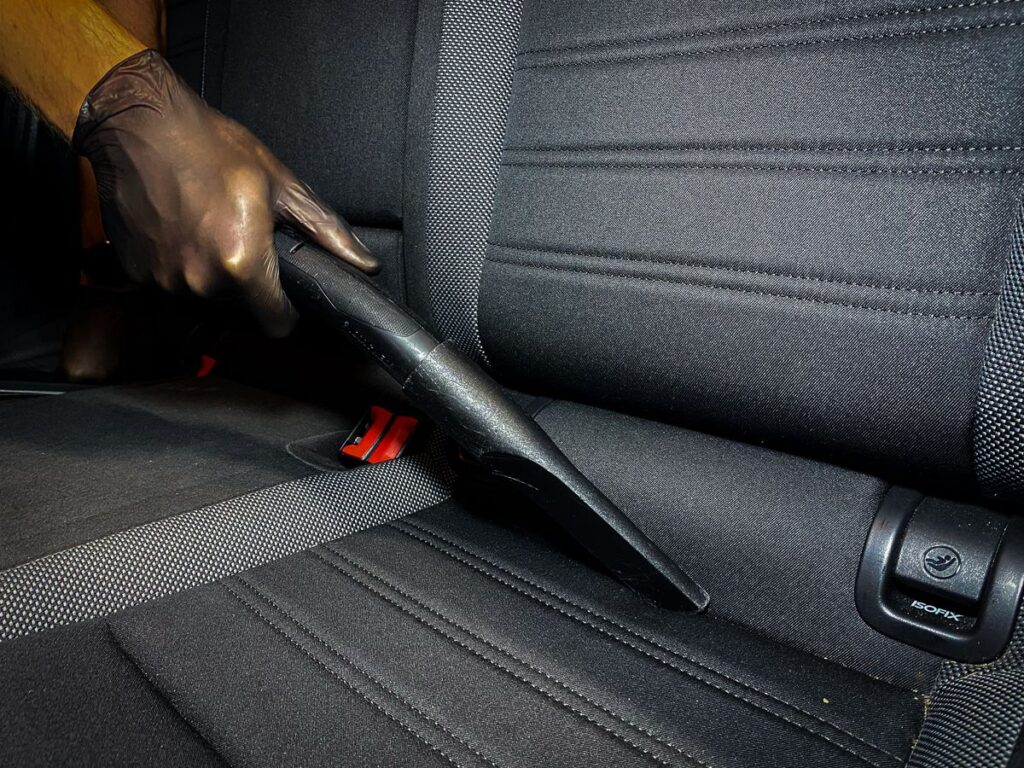
Step 3: Vacuum the floor and seats
Vacuuming the interior is a fundamental step in any detailing process. Effectively removing loose dirt, dust, and particles is essential to achieve a professional finish and prepare the car for further treatments.
How to vacuum the passenger area effectively?
-
Use a high-power vacuum with various attachments to reach tight spots.
-
Vacuum the floor thoroughly, paying attention to seams, edges, and under the seats.
-
Don’t forget the seats – use a brush attachment to gently remove dust and debris from fabric or leather.
-
For leather seats, vacuuming prepares the surface for cleaning and conditioning.
- Avoid mechanical damage by being careful around delicate surfaces and plastic elements.
Proper vacuuming minimizes dirt transfer during further detailing steps and gives you full control over the surfaces, removing debris that could reduce material durability.
Step 4: Remove dust from hard-to-reach areas
Removing dust from tight spaces is essential for a complete and effective interior detailing. Dust accumulates in vents, under buttons, and around trim where standard cleaning doesn’t reach.
Key steps:
-
Use precise tools such as brushes, small brushes, or compressed air to reach areas inaccessible to the vacuum.
- Wipe these surfaces with microfiber cloths to collect airborne dust and dirt effectively.
-
Use a foaming cleaner suitable for delicate plastic surfaces, the dashboard, and painted elements. This dissolves dust without leaving streaks or damaging surfaces and may leave a pleasant scent.
Thorough dust removal is the foundation for further cleaning and protection, as leftover dust reduces the effectiveness of protective products and attracts more dirt.

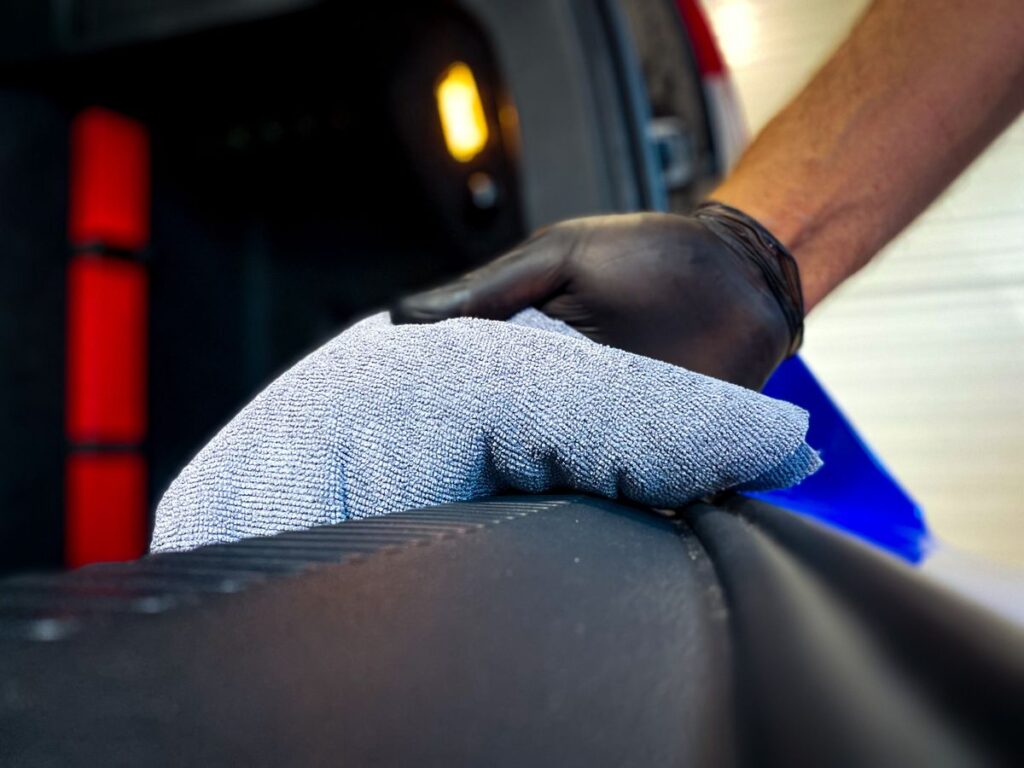
Step 5: Clean door sills and trunk edges
Door sills and metal parts in the trunk are often overlooked but are highly exposed to dirt and corrosion.
How to care for them properly?
-
Wash the door sills and trunk floor with dedicated cleaners, ideally using a brush of appropriate stiffness.
-
A versatile interior cleaner works well for both plastic and metal surfaces – it effectively removes dirt without damaging materials.
- If the sills are metal, apply an anti-corrosion treatment afterward.
Regular cleaning and protection of sills and trunk areas not only enhances interior aesthetics but also effectively prevents corrosion and premature wear.
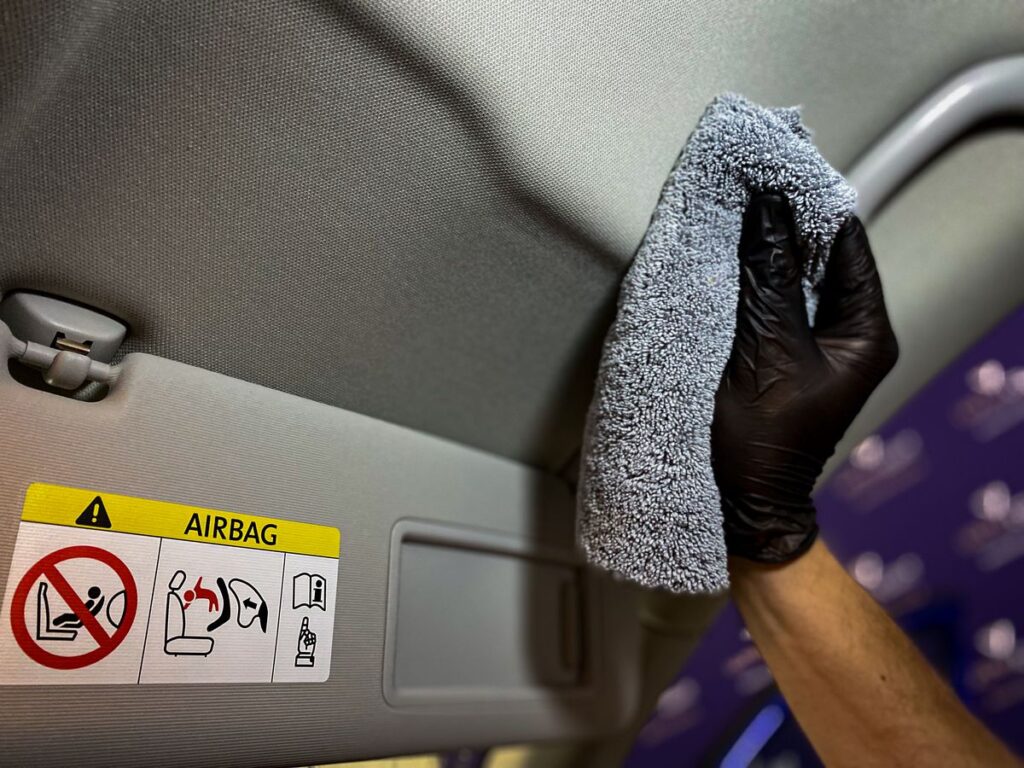
Step 6: Clean the headliner
The headliner is one of the trickiest interior surfaces to maintain. Dust, smoke, and even moisture cause it to get dirty and grey quickly. Gentle yet effective cleaning is essential for a tidy interior.
How to clean it properly:
-
Use a product designed for textiles that removes dirt without damaging fibres.
-
Apply the product locally, gently working it in with a soft brush or microfiber to avoid damage.
- Dry the headliner thoroughly to prevent moisture and mould formation.
Proper cleaning keeps the headliner clean and fresh, significantly improving overall comfort and car interior aesthetics.
Step 7: Clean the seats
Seats are the showcase of the car interior, so thorough cleaning is crucial. Different materials require different products and approaches.
How to clean seats?
-
Fabric upholstery: Use a fabric-specific cleaner that removes dirt, refreshes colours, and leaves no stains or unpleasant odours. Apply locally, cleaning gently with a brush or microfiber.
-
Leather: Use a foaming cleaner that removes dirt and stains while caring for natural or eco-leather. It should leave a pleasant scent and preserve the leather’s structure.
-
After cleaning leather, apply a nourishing and protective product that mattifies the finish, protects against UV rays, and keeps leather soft and less prone to dirt.
- Work carefully to avoid over-wetting fabric and always follow the leather grain and texture.
Well-cleaned seats enhance the vehicle’s class and significantly improve aesthetic perception. Even the best exterior detailing won’t offset dirty seats.

Step 8: Protect the seats
After thorough cleaning, it’s time to protect the seats. Proper protection safeguards upholstery from stains, moisture, and premature wear.
How to protect seats?
-
Fabric: Apply a hydrophobic protector that penetrates deeply, creating a barrier against dirt and stains. It should be solvent-free, odourless, and safe for interior use.
-
Leather: Use a nourishing cream or conditioner that also protects against UV, preserves appearance, and extends leather life. Aim for a matte finish that limits dust and dirt adhesion.
- Apply evenly, following instructions, and avoid over-application that could create an unattractive look.
Seat protection is an investment that ensures longer-lasting cleanliness and better interior protection. Take your time – properly protected upholstery requires less maintenance later.
Step 9: Clean and protect remaining interior elements
At this stage, focus on a comprehensive care of plastics, dashboard, cockpit, decorative trims, and painted elements.
-
Use a universal cleaner for plastics, dashboard, and painted surfaces that removes dirt without leaving streaks or greasy residues. The formula should be gentle to avoid damaging surfaces.
-
After cleaning, apply a protective product that gives a satin finish, UV protection, and reduces dust accumulation. A product with a fresh scent can also enhance user comfort.
This step ensures the interior looks new longer and maintains cleanliness and freshness. Details make all the difference.

Step 10: Take care of the scent
Interior scent is often underestimated but crucial for driving comfort. Even a spotless interior can be ruined by unpleasant odours.
How to maintain a pleasant interior scent?
- After thorough cleaning, use odour neutralizers or gentle car-specific air fresheners. Avoid cheap, strong fragrances that only mask the problem.
-
Check for lingering moisture, the most common cause of bad smells, and dry upholstery and mats thoroughly if needed.
- Natural odour absorbers like activated charcoal or sachets can be more effective and longer-lasting than chemical fresheners.
A pleasant, subtle scent enhances perceived professionalism and attention to detail.
Step 11: Clean the windows from the inside
Clean windows are essential for safety and driving comfort. Even small smudges or streaks can be distracting, especially in sunlight.
-
Use a specialized car glass cleaner; household detergents can leave streaks or damage coatings.
-
Use soft, lint-free microfiber cloths to avoid scratches and remove dirt efficiently.
-
Work in the shade or low sunlight to prevent streaking.
-
Pay attention to corners and edges where dust accumulates.
- Optionally, apply a hydrophobic product to create a “rain-repellent” effect, improving visibility and safety.
Clean windows enhance visibility and comfort – a small detail that makes a huge difference.
Summary
If you’ve completed all the steps, congratulations – your car interior is fresh, clean, and well-protected. The key to maintaining this effect is regular care, which preserves cleanliness, surface shine, pleasant scent, and protective properties such as hydrophobicity. Systematic surface control allows you to maintain the interior in perfect condition and quickly address new dirt.